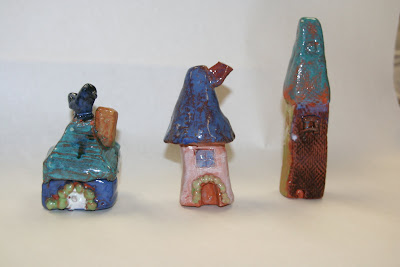
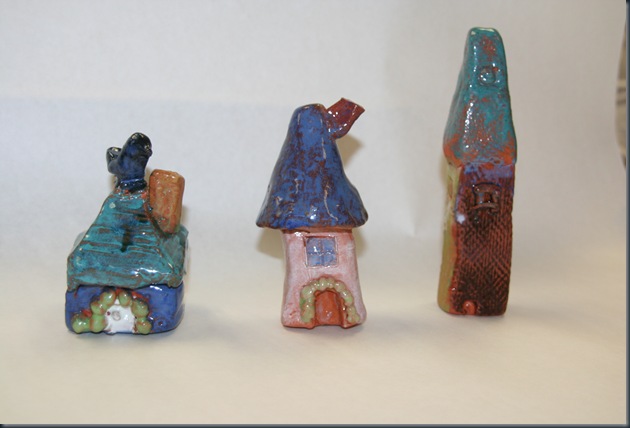
 I LOVE these little houses. Shannon used architecture as a theme, and showed them all different forms of columns, turrets, roofs, and made a geometry connection. Students made cone roofs, triangular prism roofs, rectangular prisms and cubes for the bottom part, and tiny spheres for the rocks around the doors. They also used lots of items like rocks and texture plates for texture on the house that look really cool after glazing.
Yesterday one of my friend and fellow art teachers from http://www.missartclass.blogspot.com/ (under construction) came over and showed me some cool clay samples for IDEAS since I am trying to focus on lay this year!
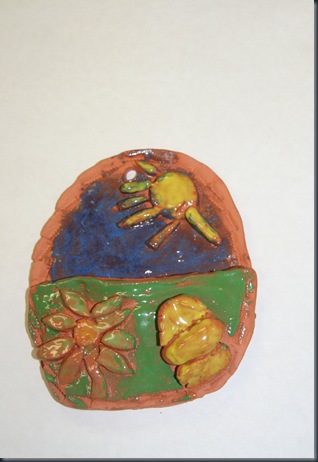
Below is a “nature pocket” with a sun, a flower and a butterfly. There is a pocket under the green part to hang and put flowers in it!!
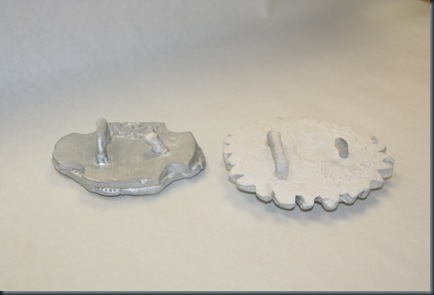
These are giant clay belt buckles painted with gold and silver tempra. They even have the buckle attachment on the back! They were cut from a slab.
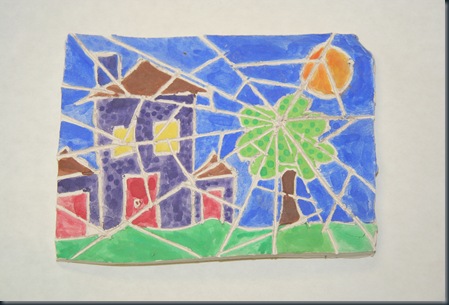
This is a tile painted with watercolor made to look like a view from a broken window. They clay sucks up the watercolor so fast it doesn’t have time to drip in the cracks.
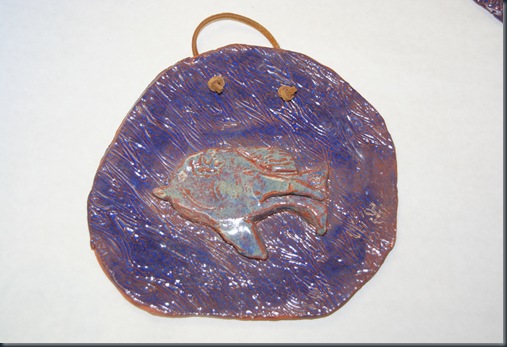
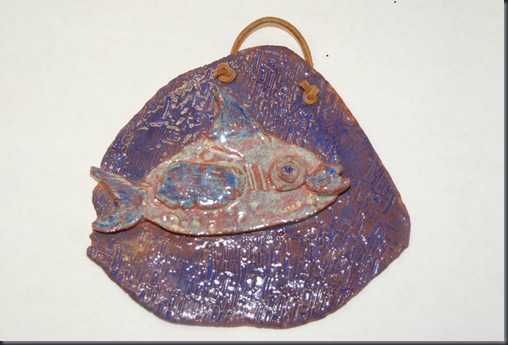
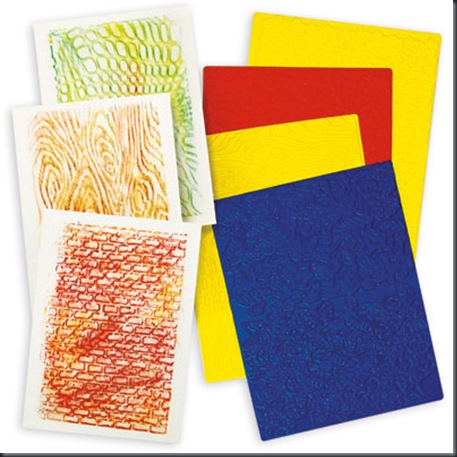
These fish were textured using those plastic texture plates usually used for crayon rubbings!! The leather cord adds a nice organic looking touch!!
I use my texture plates for lots of different things. They are great to have in the art room!
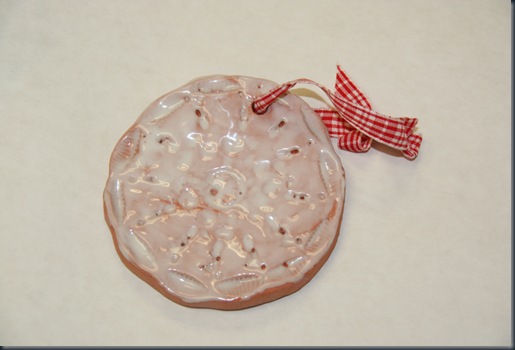
Christmas cookie ornament. This is a great project for kinder. Shannon places all kinds of objects on the table (shells macaroni, sticks, legos,little toys, rocks, beads, marker tops) She precuts the clay slab with a biscuit cutter and puts the children’s name already on the back. She uses a translucent white glaze called pearl as the icing (she said this example had way too much glaze and that usually you can see the imprints much better)
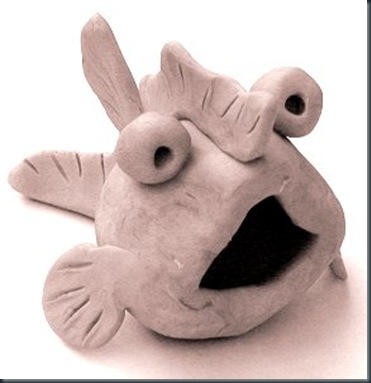
I also love this idea of making pinch pot fish and pinch pot monsters. Just make a pinch pot, turn it on its side and add eyes, fins, antenae, scales, texture, tails, claws arms, wings, ect.!!
This summer I learne some awesome new things at my Mayco glaze inservice. One thing that BLEW MY MIND was that you can paint glaze on WET or bone dry CLAY!!! YEEEES you DO NOT have to fire it before glazing!
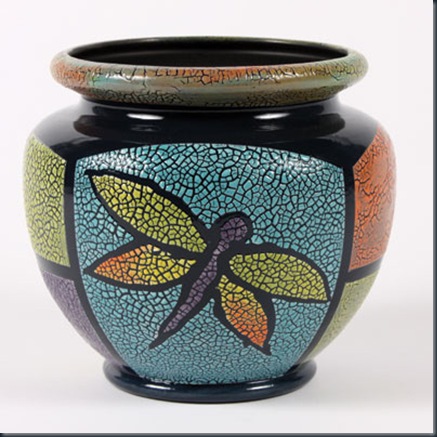
The pot below was made with the COOLEST glaze by Mayco called cobblestone. First paint your sculpture with black foundation glaze, the two coats of mayco cobblestone, then one thin coat of ANY OLOR. The cobblestone makes the color break into little raised cobblestone like shapes and then the black shows through the cracks! Its AMAZING!
Below are the SUPER POPULAR “Jungle Gems” crystal glazes by Mayco. The glazes have little chunks in them that explode and melt into little color specs after fired! They look so cool and if you want the background color to be different. You can paint a coat of a darker color on top and the color gems will show through. We used the orangy one below but put black foundations on top to that the little red, yellow and green flecks will show on a black background.
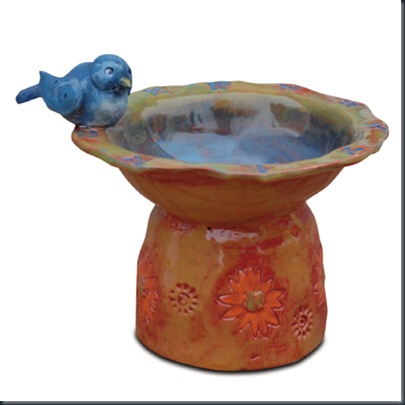
I found this project on the Mayco website. I think it would be cute with pinch pots! Then they could add the bird. It would even be cool to put blue marbles inside to melt the glass and look like water!!! It is good to crush the marbles in a sock with a hammer first.
I hope you liked these clay ideas as much as I did! Let me know if you use any of them and post pics of your results! You can order Mayco glazes and see lots of other cool clay projects http://maycocolors.com/index.html



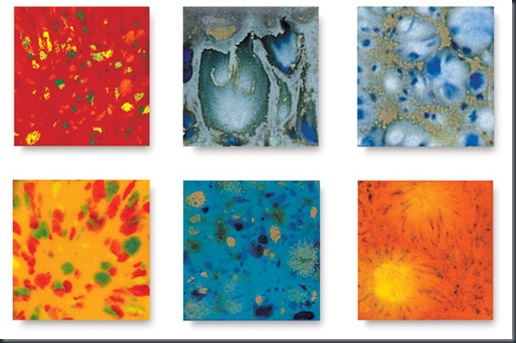
Hello! thank you for interesting post. I have a question about your post. Could you let me know names of those, "jungle Gems” crystal glazes by Mayco in image that you uploaded please? I have been looking for those, but I couldn't find out those names.
ReplyDelete